If you’re sourcing electrical components, you know that the humble crimp connector is anything but trivial. Choosing the right one—and installing it correctly—is the bedrock of a reliable, safe, and cost-effective connection.
This guide will walk you through the different types of crimp connectors and the right way to use them.
Different Types Of Crimp Connectors
Navigating the world of crimp terminals can feel overwhelming—so many shapes, sizes, and specs! But don’t worry, it all makes sense once you break it down.
Primarily, we classify them by their structural form (what they look like and connect to) and their insulation condition.
As your partner, Westlec offers a comprehensive range across all these categories, ensuring you find the perfect match for your application.
Classification By Structural Form
This is about the “business end” of the terminal—the part that makes the actual connection to a stud, post, or mating terminal. Choosing the correct form is crucial for both function and safety.
Circular/Ring Terminals
Ring terminals are, as the name suggests, enclosed circles. This is your go-to for permanent, high-vibration, and high-current applications. Why? Because once that nut is tightened, that terminal isn’t going anywhere—it can’t shake loose.
Spade/Open-End Terminals
Spade terminals (or fork terminals) feature a “U” or fork-shaped end. Their superpower? Quick disconnect and reconnect without removing the nut or screw entirely. You just loosen the fastener enough to slide the fork out. This makes them ideal for applications where you might need to service or test components without completely disassembling the connection—like in appliance wiring, or audio equipment. They offer a good compromise between security and serviceability, though they’re slightly more prone to vibration loosening than a full ring.
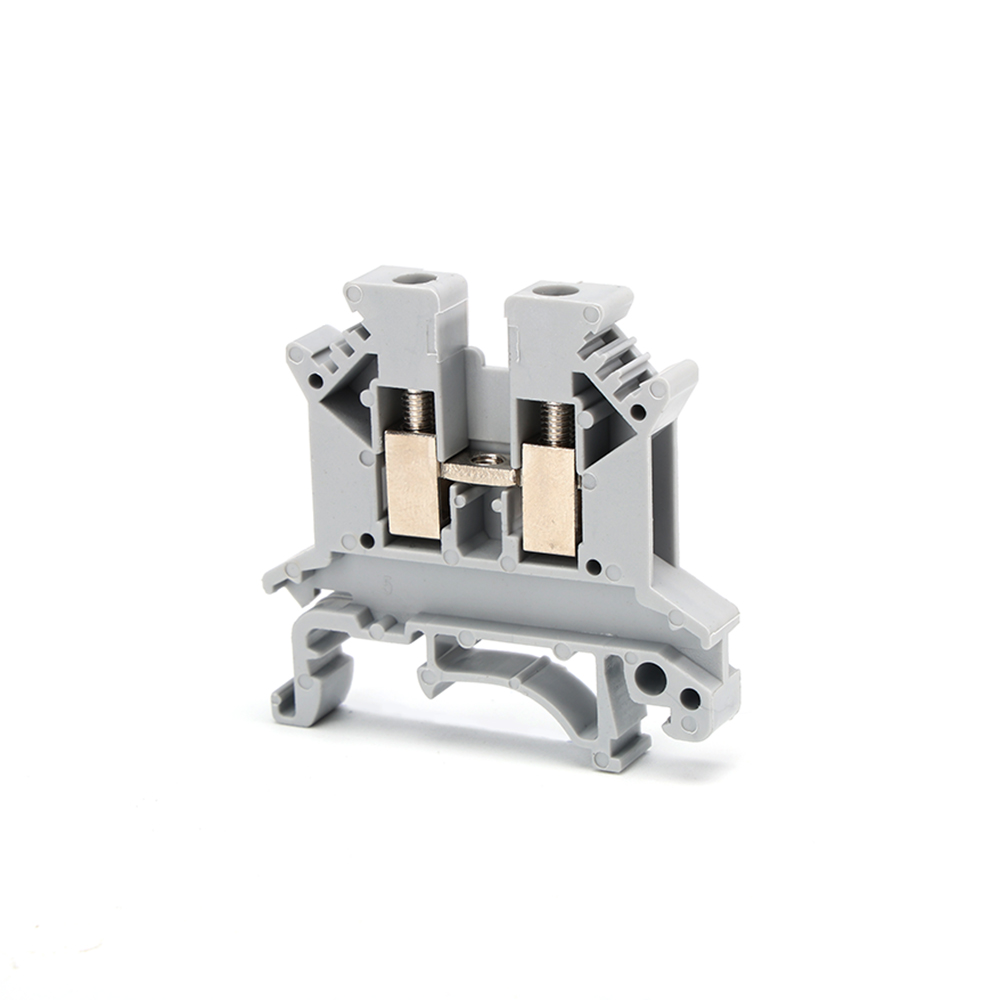
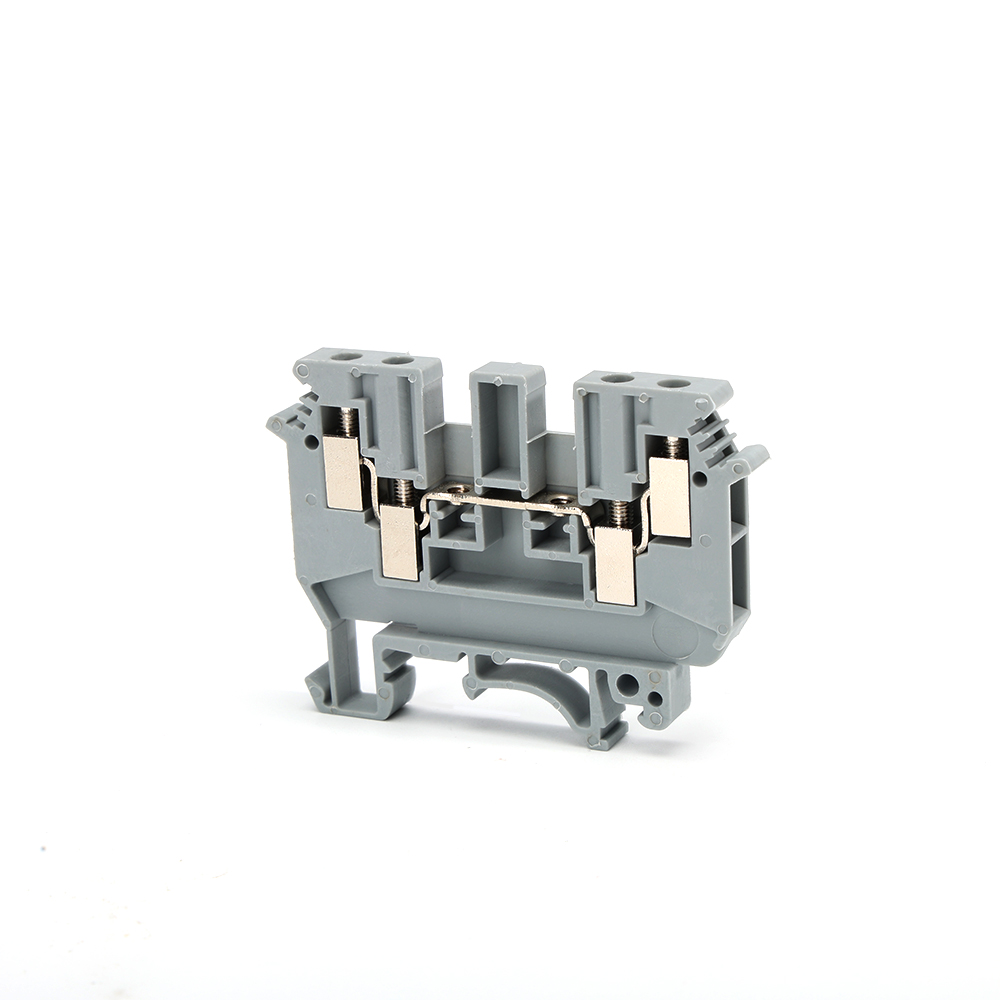
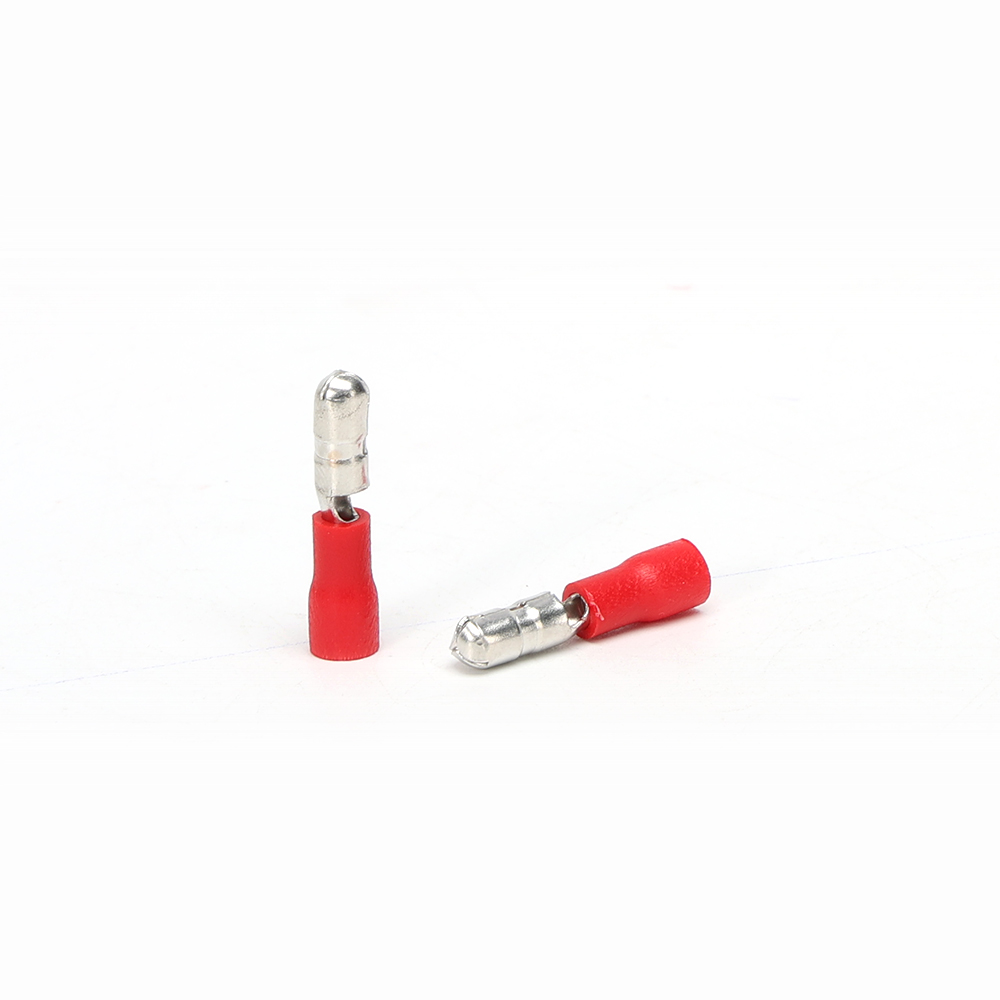
Pin/Bar Terminals
Simplicity itself. These are straight, solid metal pins or small bars. They’re designed to be inserted into clamp-style connectors, terminal blocks, or sometimes directly into PCB holes for soldering. You’ll often find them on the ends of sensor wires or as part of a pre-made cable assembly that plugs into a screw terminal. They provide a clean, single-point connection.

Pin/Socket Terminals
Welcome to the world of multi-pin connectors! These are the tiny, intricate components that live inside plastic housings to create those complex connectors (like standard rectangular connectors) used in automotive harnesses, industrial machinery, and aerospace. “Pin” terminals are the male halves, “socket” terminals are the female halves. They require very precise crimping tools but allow for incredibly dense, organized, and sealed wiring systems. If you’re sourcing for harness manufacturing, this is a deep and critical category.
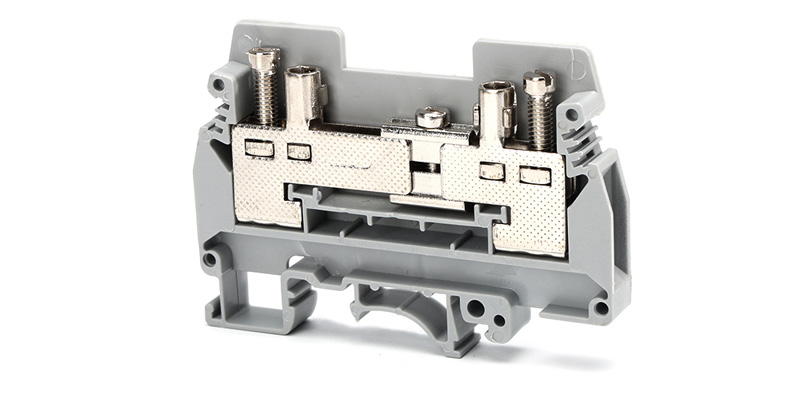
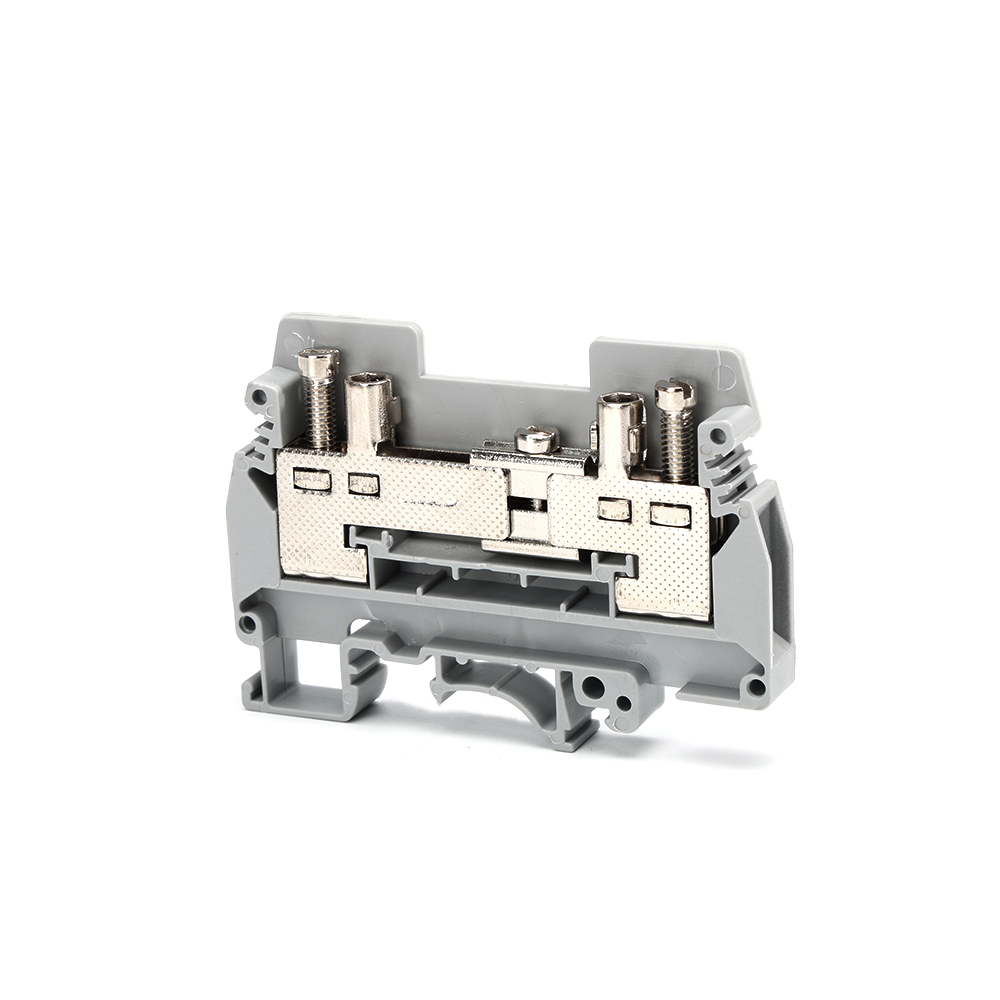
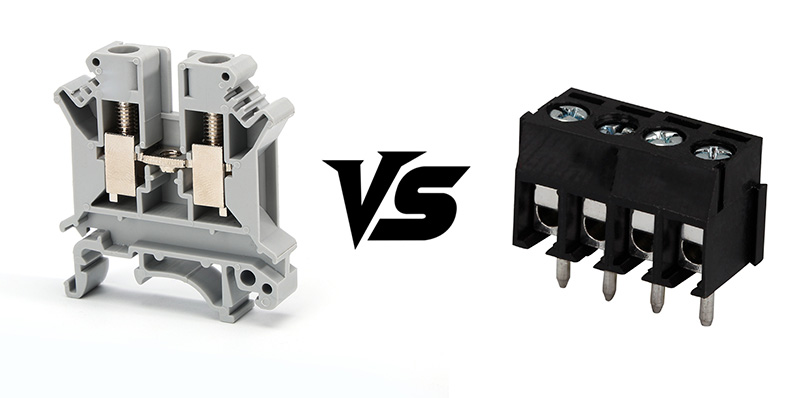
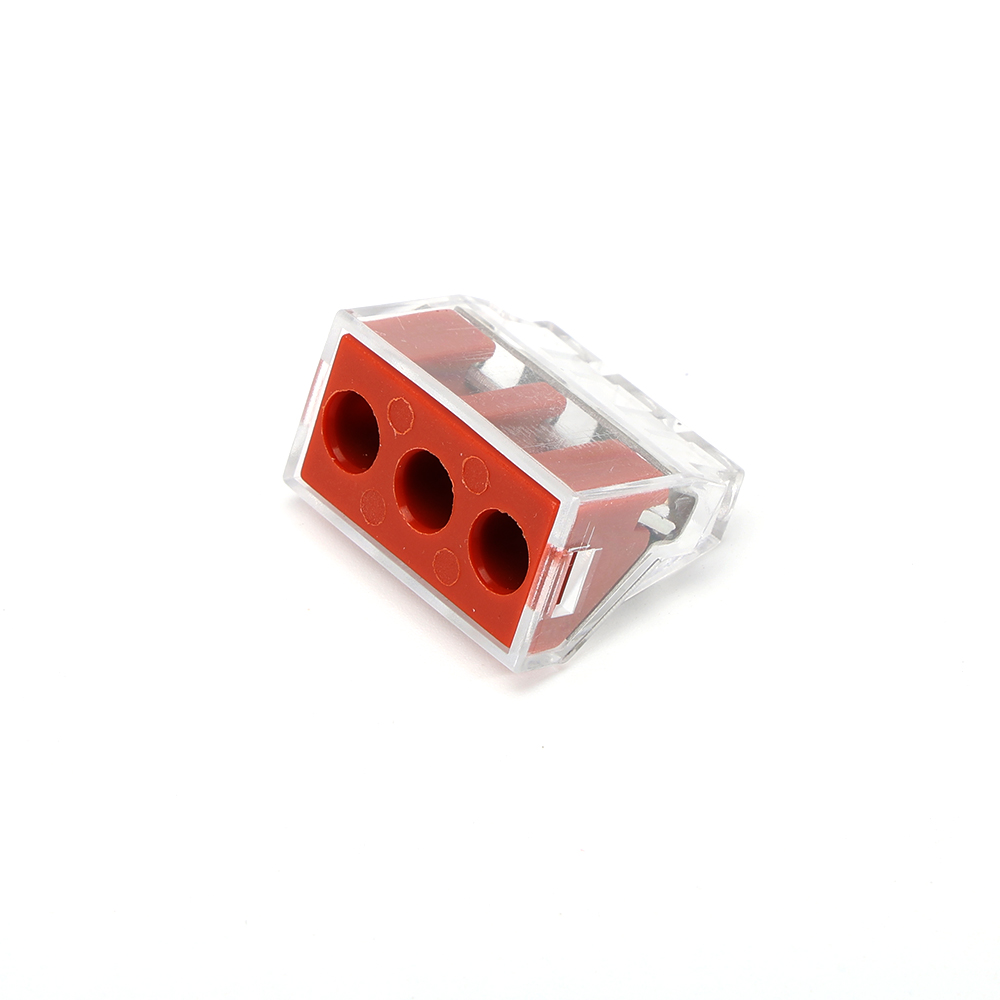
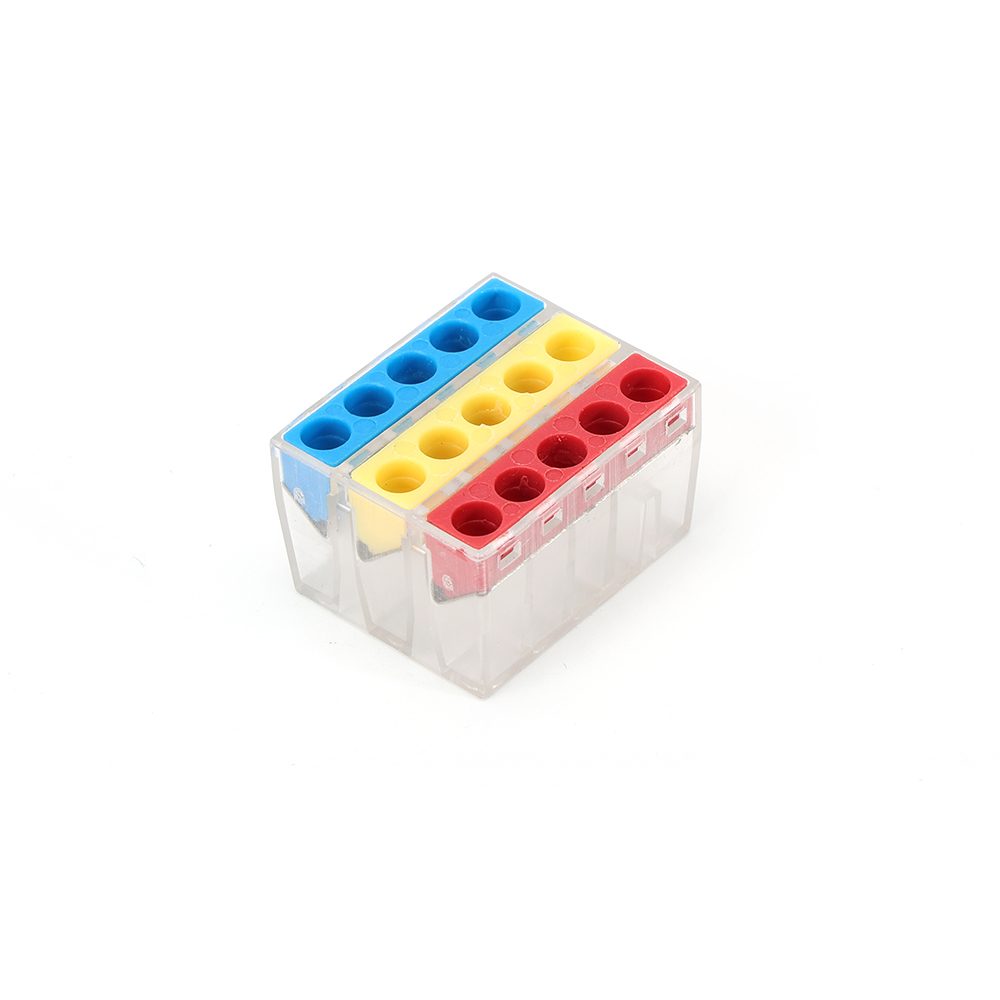
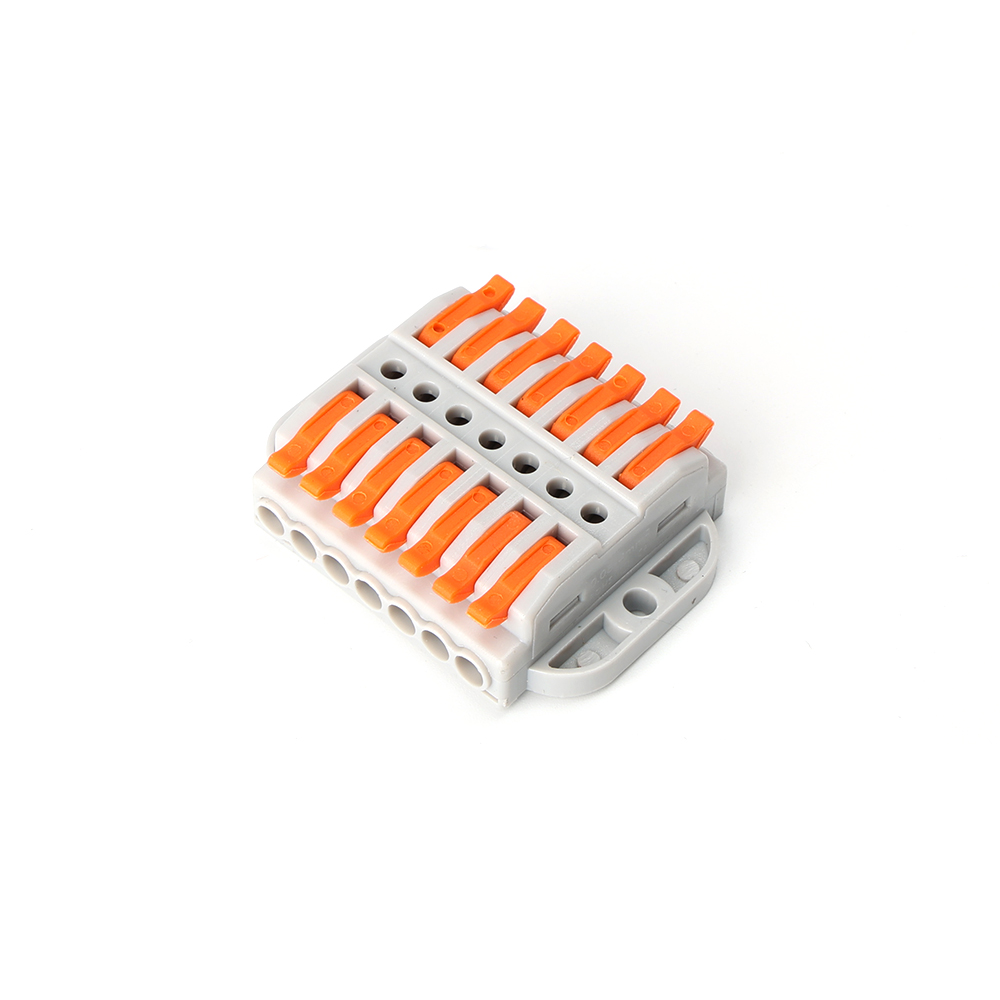
Push-In Terminal
Now, this is a modern convenience that’s changing the game in some sectors. Push-In terminals (often spring-cage type) allow you to connect a solid or finely stranded wire without any tools at the point of connection—just insert the wire directly into the terminal block, and a spring mechanism grips it securely. To release, you typically insert a small screwdriver into a release lever.
From a procurement perspective, these terminals are fantastic for reducing assembly time in control panel building. They marry the reliability of a clamped connection with the speed of no screw-turning. Westlec’s range includes both the male push-in pins and the compatible connector blocks, giving you a complete solution.
| Terminal Type | Connection Method | Best For | Key Consideration |
|---|---|---|---|
| Ring Terminal | Fastened under a nut/bolt | Permanent, high-vibration, high-current (e.g., batteries, grounding) | Most secure, but requires full disassembly to remove. |
| Spade Terminal | Slid under a loosened nut/bolt | Serviceable connections (e.g., appliances, audio gear) | Allows for easy disconnect; slightly less vibration-proof. |
| Pin/Socket Terminal | Mated into a plastic housing | Complex multi-wire harnesses (e.g., automotive, industrial controls) | Requires specialized crimp tools; enables organized, sealed systems. |
| Push-In Terminal | Inserted into a spring-cage block | Fast, tool-less panel assembly (e.g., PLC systems, lighting) | Dramatically reduces installation time; ideal for solid/core wires. |
| Pin/Bar Terminal | Inserted into clamp or PCB | Single-ended connections to terminal blocks or boards | Simple, cost-effective for point-to-point wiring. |
Classification By Insulation Condition
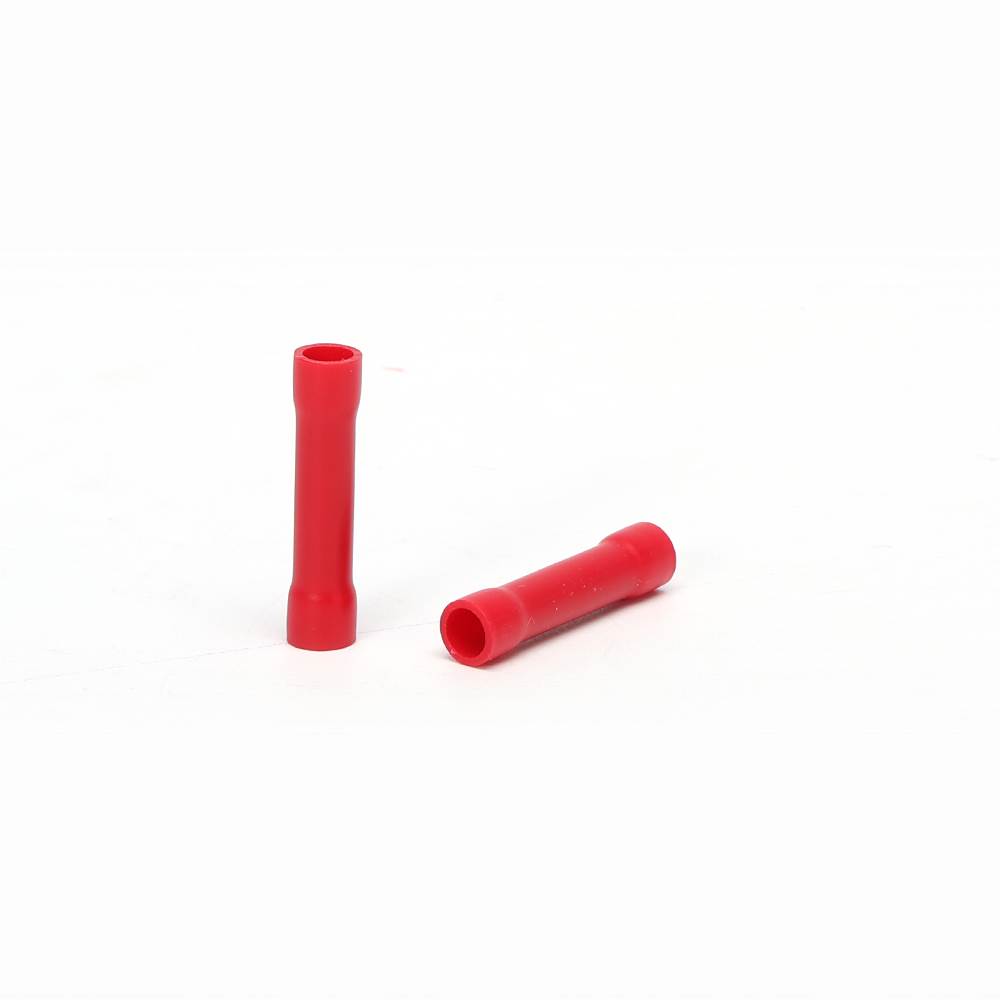
Pre-Insulated Terminal
These terminals come with a colored nylon or vinyl sleeve permanently attached to the barrel. The insulation is typically color-coded (red, blue, yellow) to indicate the wire gauge range they accommodate.
The crimping process involves two steps: first, you crimp the metal barrel onto the conductor, and second, you crimp a wider section of the insulated area to provide strain relief on the wire jacket. They’re fantastic for general-purpose applications where individual wires might be exposed to incidental contact or need basic protection from the environment. They also look neater. For most off-the-shelf procurement needs, pre-insulated terminals are a safe and convenient bet.
Bare Crimp Terminal
No-nonsense, just the metal. Bare terminals are less expensive and are used when the connection will be housed inside an insulated terminal block, a connector housing, or heat-shrink tubing. They offer maximum flexibility because you can add your own insulation of any length or type (like adhesive-lined heat shrink for a waterproof seal).
How To Use Crimp Connectors
Buying the right terminal is only half the battle. A poor crimp will fail, no matter how great the component.
Preparation
Gather your tools: the correct wire stripper, the correct crimping tool (this is non-negotiable!), and your terminals. Select the terminal size that perfectly matches your wire’s conductor gauge.
A terminal too big results in a loose, high-resistance crimp; too small, and you’ll damage the wire. Strip the wire to the exact length specified for the terminal—usually just long enough for the conductor to reach the end of the barrel, with the insulation stopping right at the barrel’s mouth. A tiny bit of exposed wire at the tip is okay, but having insulation under the crimp or too much bare wire hanging out is a recipe for failure.
Crimping Operation
Use a tool that is specifically designed for the terminal type you’re using. A generic pair of pliers is a guaranteed path to bad connections. For insulated terminals, the tool will have two dies: one for the conductor crimp and one for the insulation grip. Place the terminal squarely in the correct die (matching its size!). Insert the wire until it stops. Now, with a firm, smooth motion, compress the tool handles completely.
You should hear and feel a firm “click” or complete closure if it’s a ratcheting tool (which I highly recommend—they prevent under-crimping). The ratchet won’t release until the crimp is fully formed. Apply steady pressure; don’t “pump” the handles.
Quality Inspection
Give it a visual check. The crimp should be symmetrical, centered, and the insulation grip (if present) should be securely holding the wire jacket. Then, do the tug test. Give the wire a firm, but not Herculean, pull. A properly crimped terminal should hold fast—you should not be able to pull the wire out. If it slips, cut it off and start again. Never let a questionable crimp slide.
FAQ
How To Determine Whether The Crimping Height Is Correct?
The most reliable method is to use a properly calibrated, ratcheting crimp tool matched to your terminal, or to verify the finished crimp with a dedicated go/no-go gauge.
What Should Be The Length Of The Stripped Wire?
The stripped length must precisely match the terminal barrel’s depth, allowing all wire strands to be inside the crimp area with the insulation perfectly butting against the barrel’s end.
Why Does The Head Of The Crimped Terminal Upturn
A slight, symmetrical upturn is normal and results from the die’s design, but a severe or jagged bend indicates terminal misalignment, the wrong die size, or a damaged tool.
What Causes Difficulty In Inserting And Removing Crimp Connector?
The primary cause is using an incorrect or worn crimp tool that deforms the terminal, or using mismatched terminals and housings that are not designed to connect with each other.
Conclusion
Remember, success lies in the details: selecting the right type of crimp connector (be it a steadfast Ring terminal for power or a speedy Push-In terminal for control panels), pairing it with the perfectly matched wire gauge, and then executing a flawless crimp with the proper, quality tool. As a procurement specialist, you’re not just buying bits of metal and plastic; you’re sourcing the integrity of every electrical connection in your final product.
Specifying reliable components from trusted suppliers like Westlec and ensuring your team has the right knowledge and tools is an investment that pays off in reduced failures.