Waterproof cable connector suppliers will guide you on how to properly use waterproof nylon cable glands, with a particular focus on high-protection-level IP68 waterproof cable connectors, enabling you to perform professional installations!
2. How To Use Waterproof Cable Gland?
Preparation Before Installation
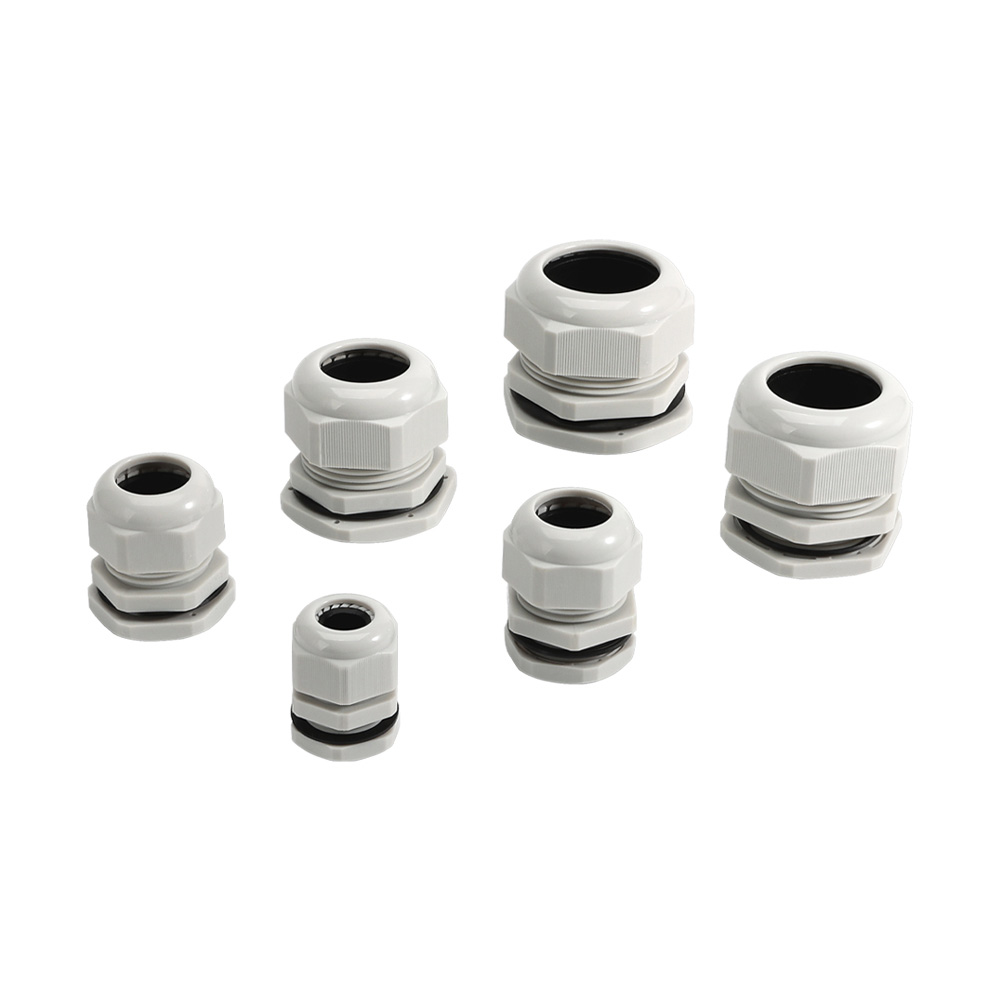
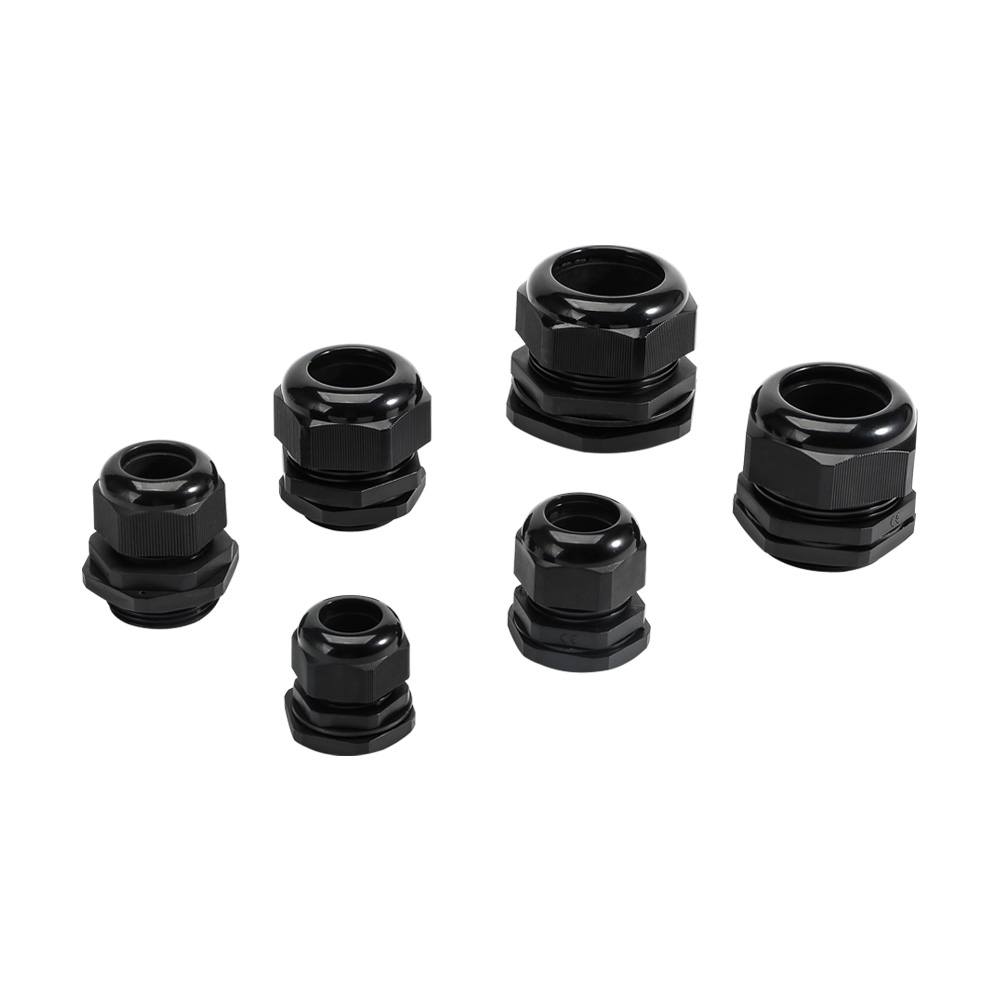
Before you begin, make sure you have the right tools and materials! You’ll need: waterproof cable gland connectors suitable for your cable size (such as Westlec’s nylon series), wire strippers, a screwdriver, and—patience. Don’t forget to choose connectors that match the cable’s outer diameter and environmental requirements; otherwise, even the best craftsmanship will be wasted.
Step By Step Installation Process
Disassembly
Gently disassemble the connector into the sealing ring, clamping nut, and main body. This is like the first step of a jigsaw puzzle; understanding the structure is essential for smooth assembly.
Dressing Sequence
Thread the parts onto the cable in the following order: first the nut, then the sealing ring. Sounds simple, but what if the order is reversed? Sorry, you might have to start over!
Cable Handling
Carefully strip away the cable sheath to expose the appropriate length of the wire core. Remember: Don’t damage the core! Treat it like a delicate work of art—rough handling is a big no-no.
Installation Body
Insert the cable into the IP68 waterproof cable gland body, ensuring the sealing ring fits snugly against the cable sheath. Here’s a little trick: slightly rotating the cable will make the seal more even.
Tighten The Seal
Tighten the compression nut with a wrench or by hand until it feels “secure” but not too tight. Excessive force may damage the seal!
Final Inspection
Pull the cable slightly to check for a secure fit. If possible, perform a simple test (such as spraying water) to ensure there are no leaks.
When using waterproof cable connectors, you’ll first need to prepare appropriate tools and materials, such as matching connectors, wire strippers, and screwdrivers. Next, carefully disassemble the connector components to understand their structure; this will prevent confusion during installation. Then, the installation sequence is crucial: be sure to insert the sealing ring and nut in the correct order. Afterward, carefully handle the cable, stripping the outer sheath without damaging the inner core.
Next, install the waterproof cable connector body, ensuring the cable is fully inserted, and tighten the sealing ring evenly for optimal waterproofing. Finally, don’t forget to test it by pulling or performing a simple test to confirm a secure installation and no leaks.
How To Choose Waterproof Cable Connectors Correctly?
Determine Key Parameters
Cable diameter, protection rating (IP68 indicates dustproof and long-term water immersion resistance), material (such as corrosion-resistant nylon)—these parameters are like the connector’s “identity card.” For example, Westlec’s Waterproof Nylon Cable Gland combines durability and sealing, making it ideal for outdoor monitoring systems.
Matching Application Scenarios
Seaside equipment? Choose salt spray resistant models. High-temperature workshops? Consider heat-resistant models. Matching the application to the environment is key—after all, you can’t use a garden light connector on an oil drilling platform, right?
Choosing the right waterproof cable connector is a process of striking a precise balance between cable parameters, environmental challenges, and long-term reliability. First, the core principle is matching the cable’s outer diameter to ensure a tight seal.
Second, the IP protection rating is crucial—for example, IP68 means it can withstand prolonged immersion in water; always choose according to the severity of the actual environment. Then, the material determines durability; nylon is corrosion-resistant, while metals are impact-resistant. Finally, don’t overlook the specific characteristics of the application scenario, such as the corrosion resistance requirements of chemical plants or the challenges of extreme outdoor temperature variations.
A correct choice = precise specification matching + thorough understanding of the application environment + trust in a quality supplier (such as Westlec).
Selection Suggestions And Supplier Selection
It’s recommended to purchase from reliable waterproof cable gland suppliers (such as specialized waterproof cable connector suppliers), who can not only provide a full range of products but also offer expert advice. Westlec, as an established industry player, offers its IP68 series, which performs reliably in harsh environments and is trustworthy. Don’t forget, high-quality connectors may be slightly more expensive, but it’s far more cost-effective than frequent repairs!
FAQ
Disassemble The Types And Structures Of Waterproof Cable Joints
Common types include nylon and metal, with a typical three-layer seal: a compression ring, a sealing ring, and a lock nut.
What Is A Waterproof Cable Joint?
Simply put, it’s the cable’s “protective suit,” using a mechanical seal to block moisture and contaminants.
When Does It Need To Be Replaced?
When cracks appear, the sealing ring ages, or frequent failures occur—don’t hesitate, replace it!
Can The Waterproof Joint Be Completely Submerged In Water?
Yes, the IP68 rating allows for prolonged immersion, but it must be used according to specifications.
How To Test Its Sealing After Installation?
You can use a pressure test or observe the actual immersion. A simpler method? Simulate a downpour with a shower head!
Conclusion
Mastering the “How To Use Waterproof Cable Gland” will allow you to easily handle cable protection challenges in various humid environments. From selection to installation, details determine success or failure—and a high-quality product like the Westlec IP68 connector will ensure your project is safe and worry-free.
Click to contact us for waterproof cable gland technical consultation and let our professional team tailor a solution for you. Protecting your circuits means protecting your investment and safety.